# SAML 2.0 Login with CyberArk as Asserting Party (IDP)
To configure CyberArk as Asserting Party, configurations in the 4ALLPORTAL as well as external configurations in CyberArk are necessary.
# SAML Preconditions
Please note the general SAML preconditions here: SAML preconditions.
# 4ALLPORTAL: Relying Party and Asserting Party
This basic configuration generates the metadata required for the CyberArk configuration (likely configured by an external IT responsible).
- Configure a SAML2 Relying Party (SP):
- Go to admin snap-in
Authentication/SAML2 Relying Party (SP) - Set
Relying Party IDto a unique ID, e.g. "example40". - Save your Relying Party.
- Click action "Generate Decryption certificate" from the toolbox to generate both
Decryption certificate (X509)andKey for Decryption certificate. - Click action "Generate Signing certificate" from the toolbox to generate both
Signing certificate (X509)andKey for Signing certificate. - Save your settings.
- Go to admin snap-in
Refer Relying Party configuration for detailed information.
- Configure a SAML2 Asserting Party (IDP):
- Go to admin snap-in
Authentication/SAML2 Asserting Party (IDP) - Set
RegistrationId (name)to a unique ID, e.g. "example40_cyberark". - Set
Relying Partyto previously generated "example40" (via the dropdown). - Save your Asserting Party.
- Click action
Show Metadata URLto copy the Metadata URL or click actionDownload Metadata fileto download the Asserting Party Metadata file for step 4.
- Go to admin snap-in
Refer Asserting Party configuration for detailed information.
Clear the configuration cache in admin snap-in
General system configurations/System settings/Maintenance.Give your Metadata URL or Metadata file to your IT responsible for external CyberArk configuration.
# External CyberArk Configuration
For the external part of the configuration, pass the required metadata to your (external) IT responsible. They need to make the following configuration steps:
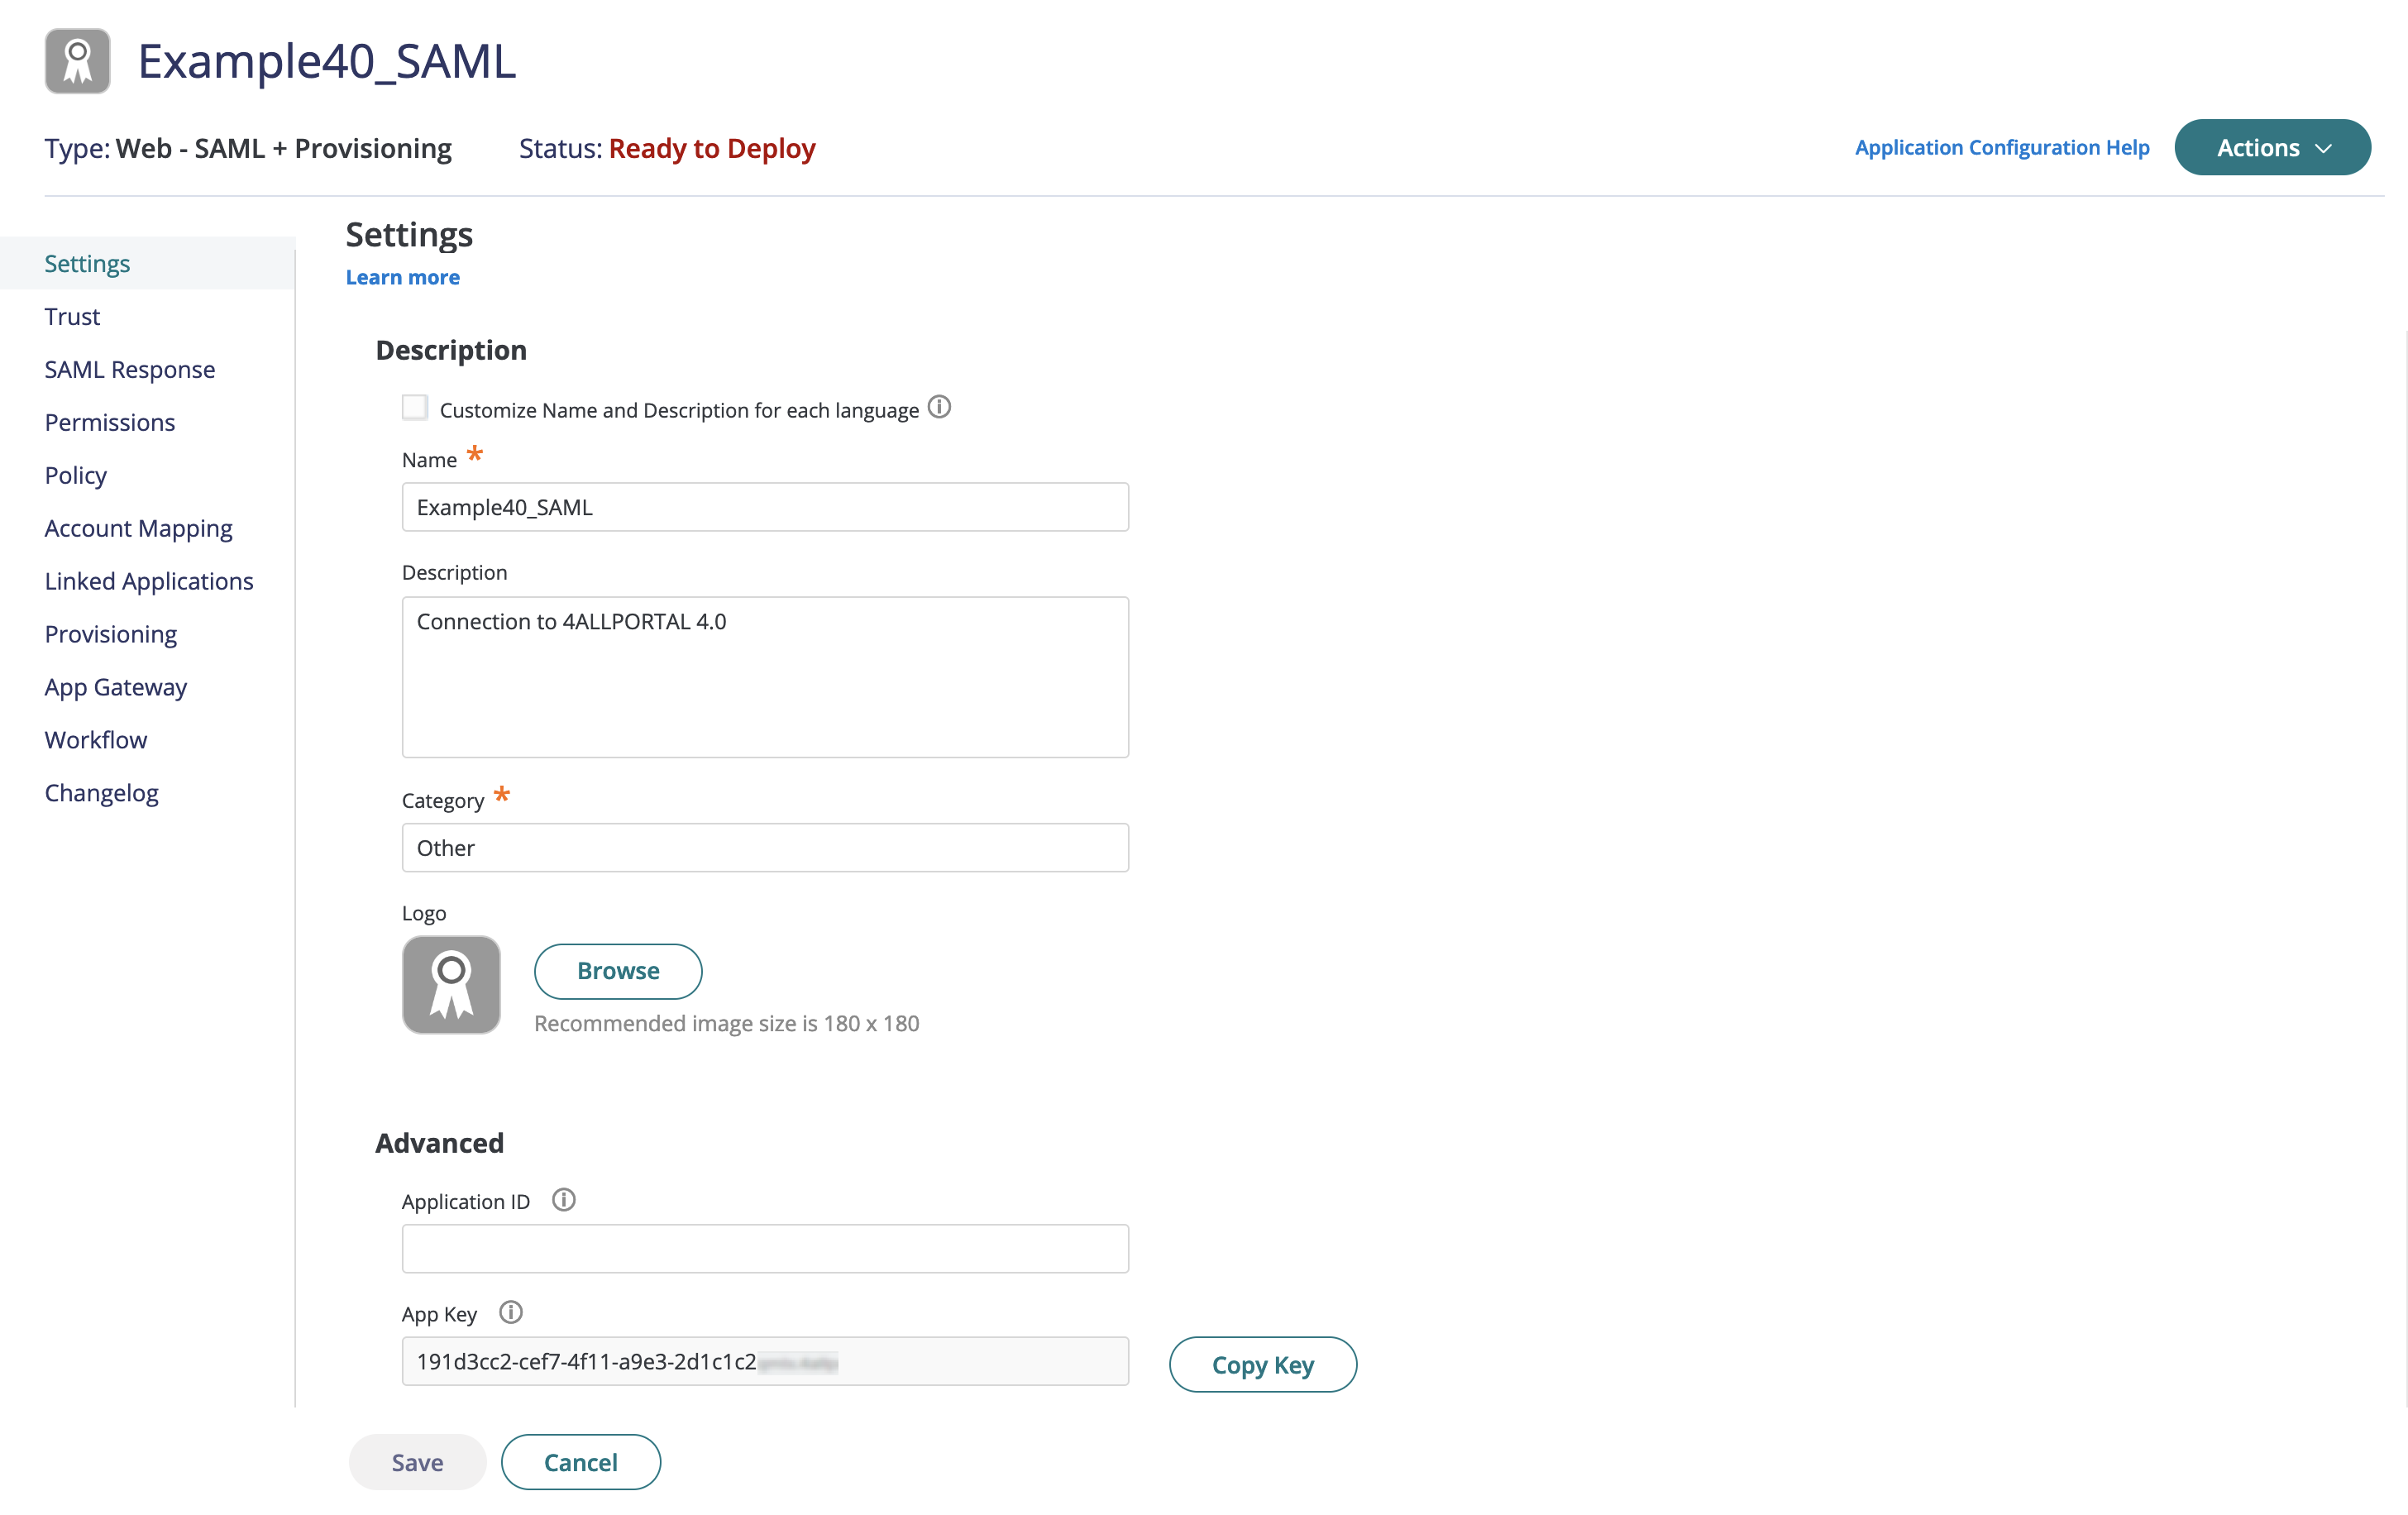
- Open your CyberArk tool and create a SAML configuration, stating with "Settings":
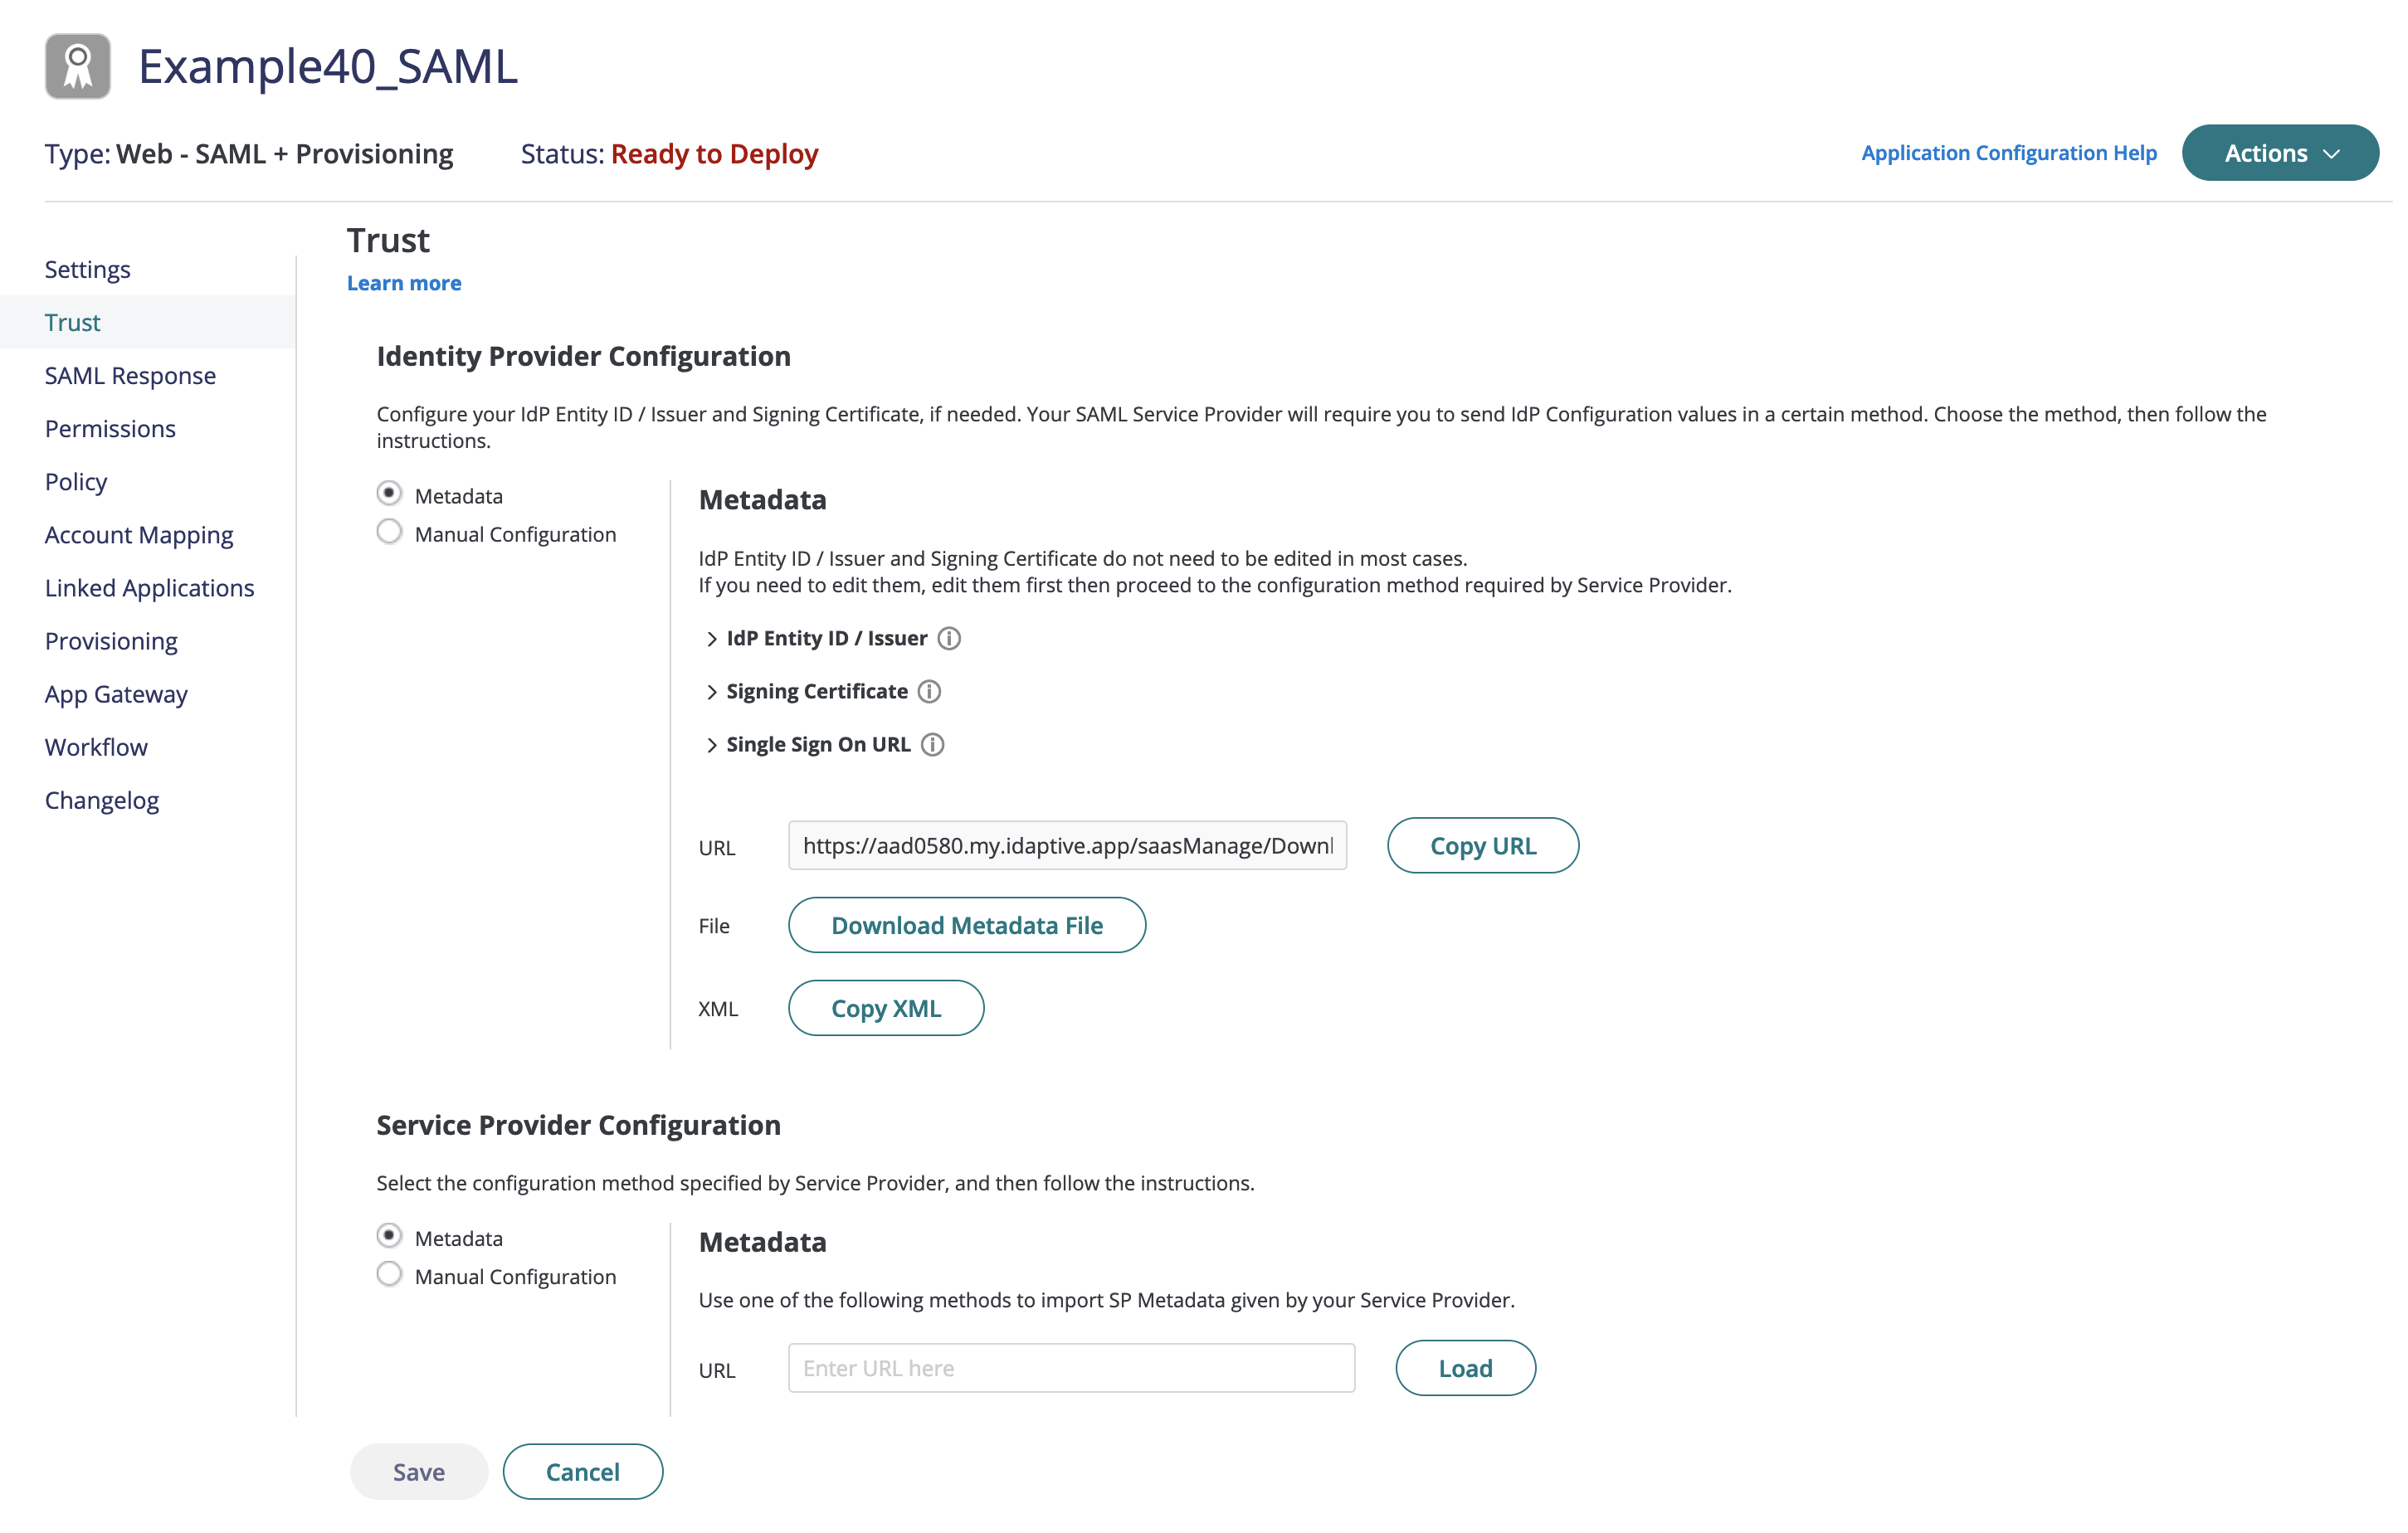
- Export the metadata from CyberArk in "Trust":
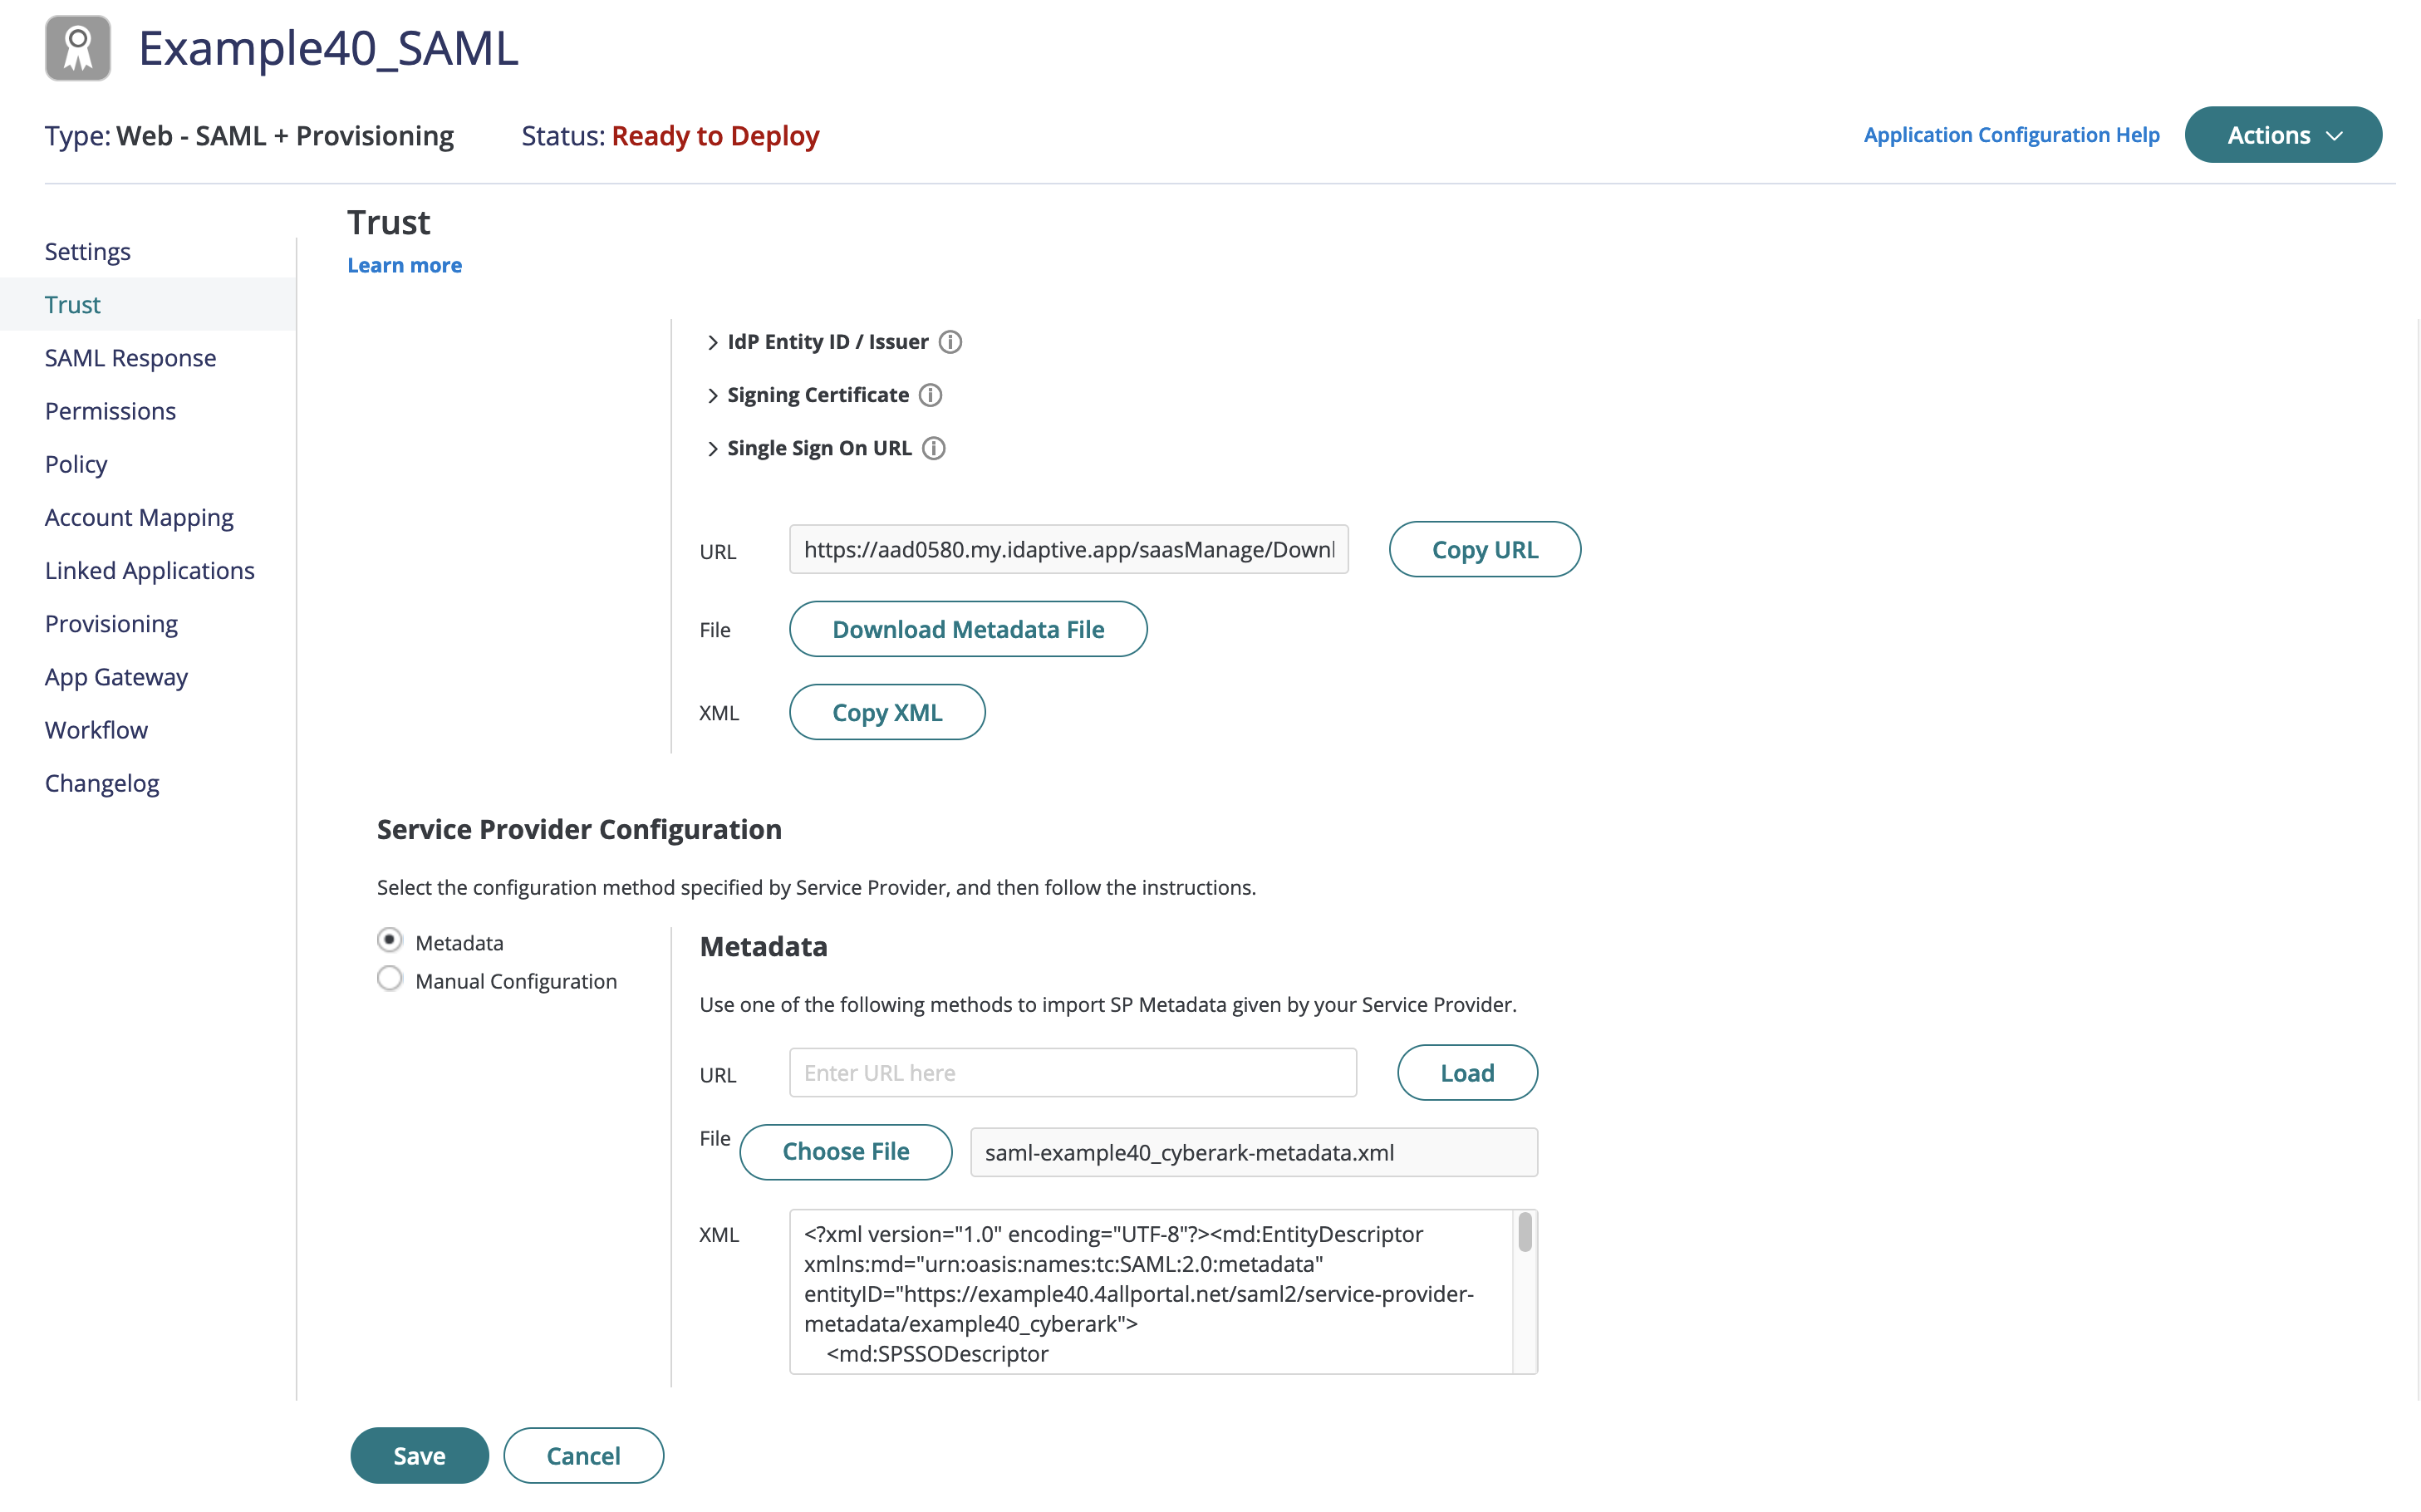
- Import the metadata from 4ALLPORTAL (Relying Party):
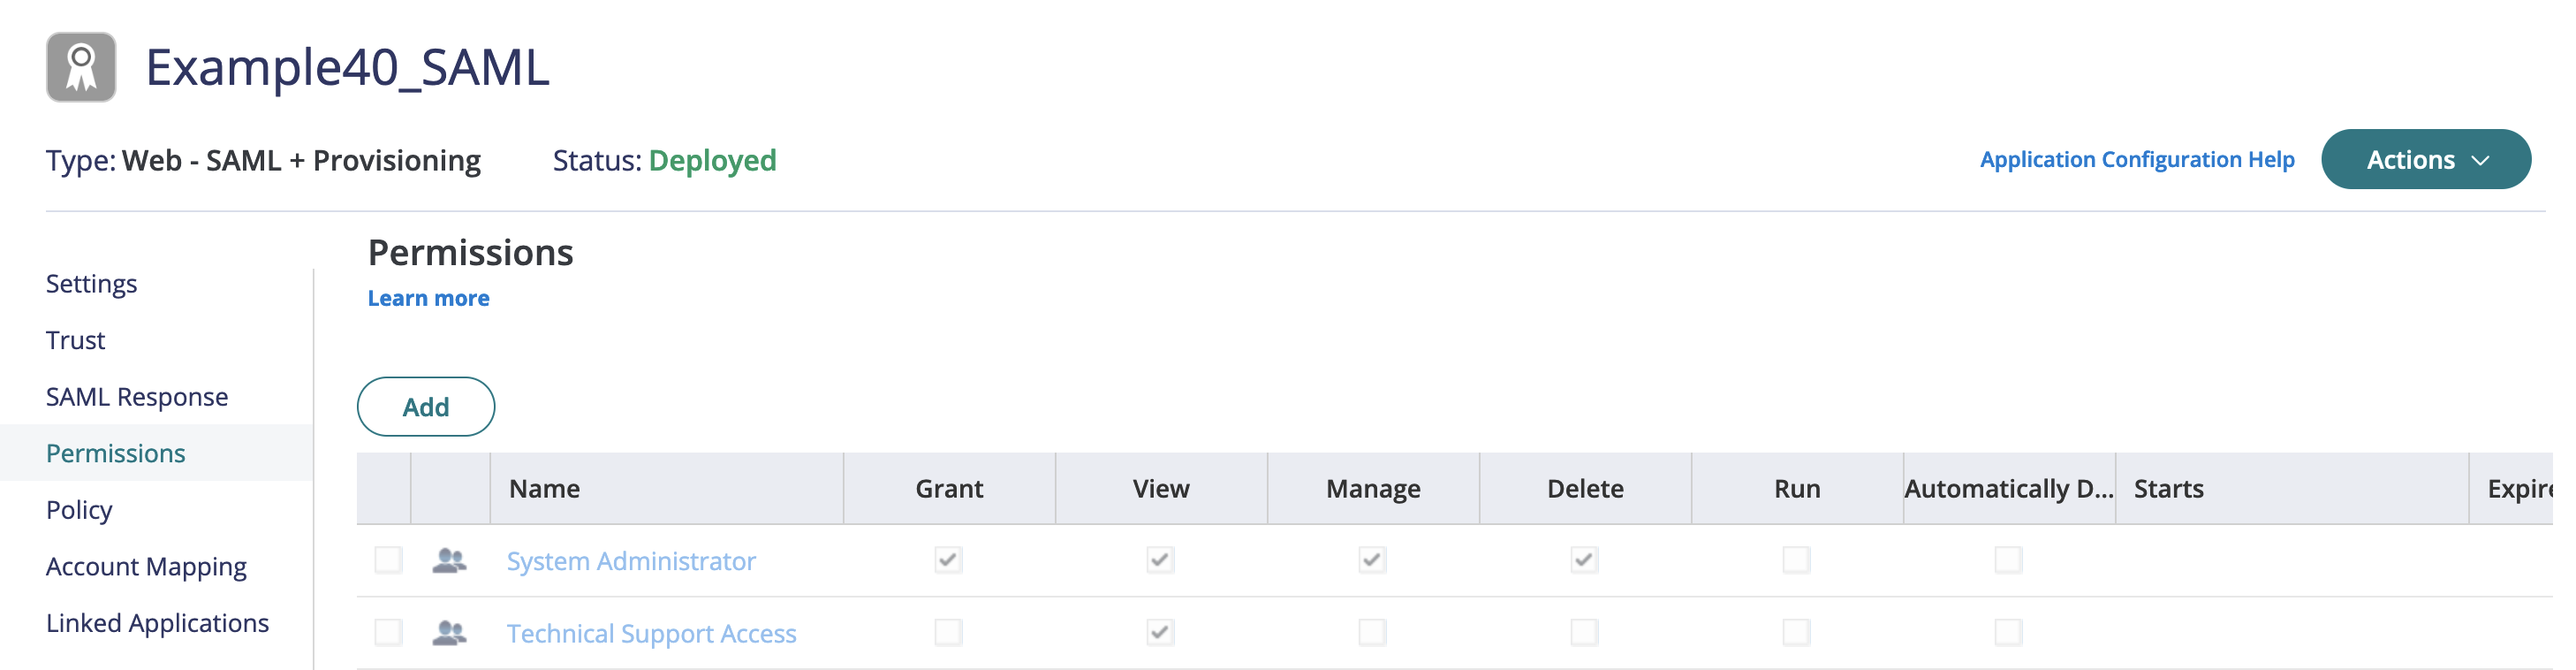
- Set access permissions in "Permissions" to allow users to log in via SAML:
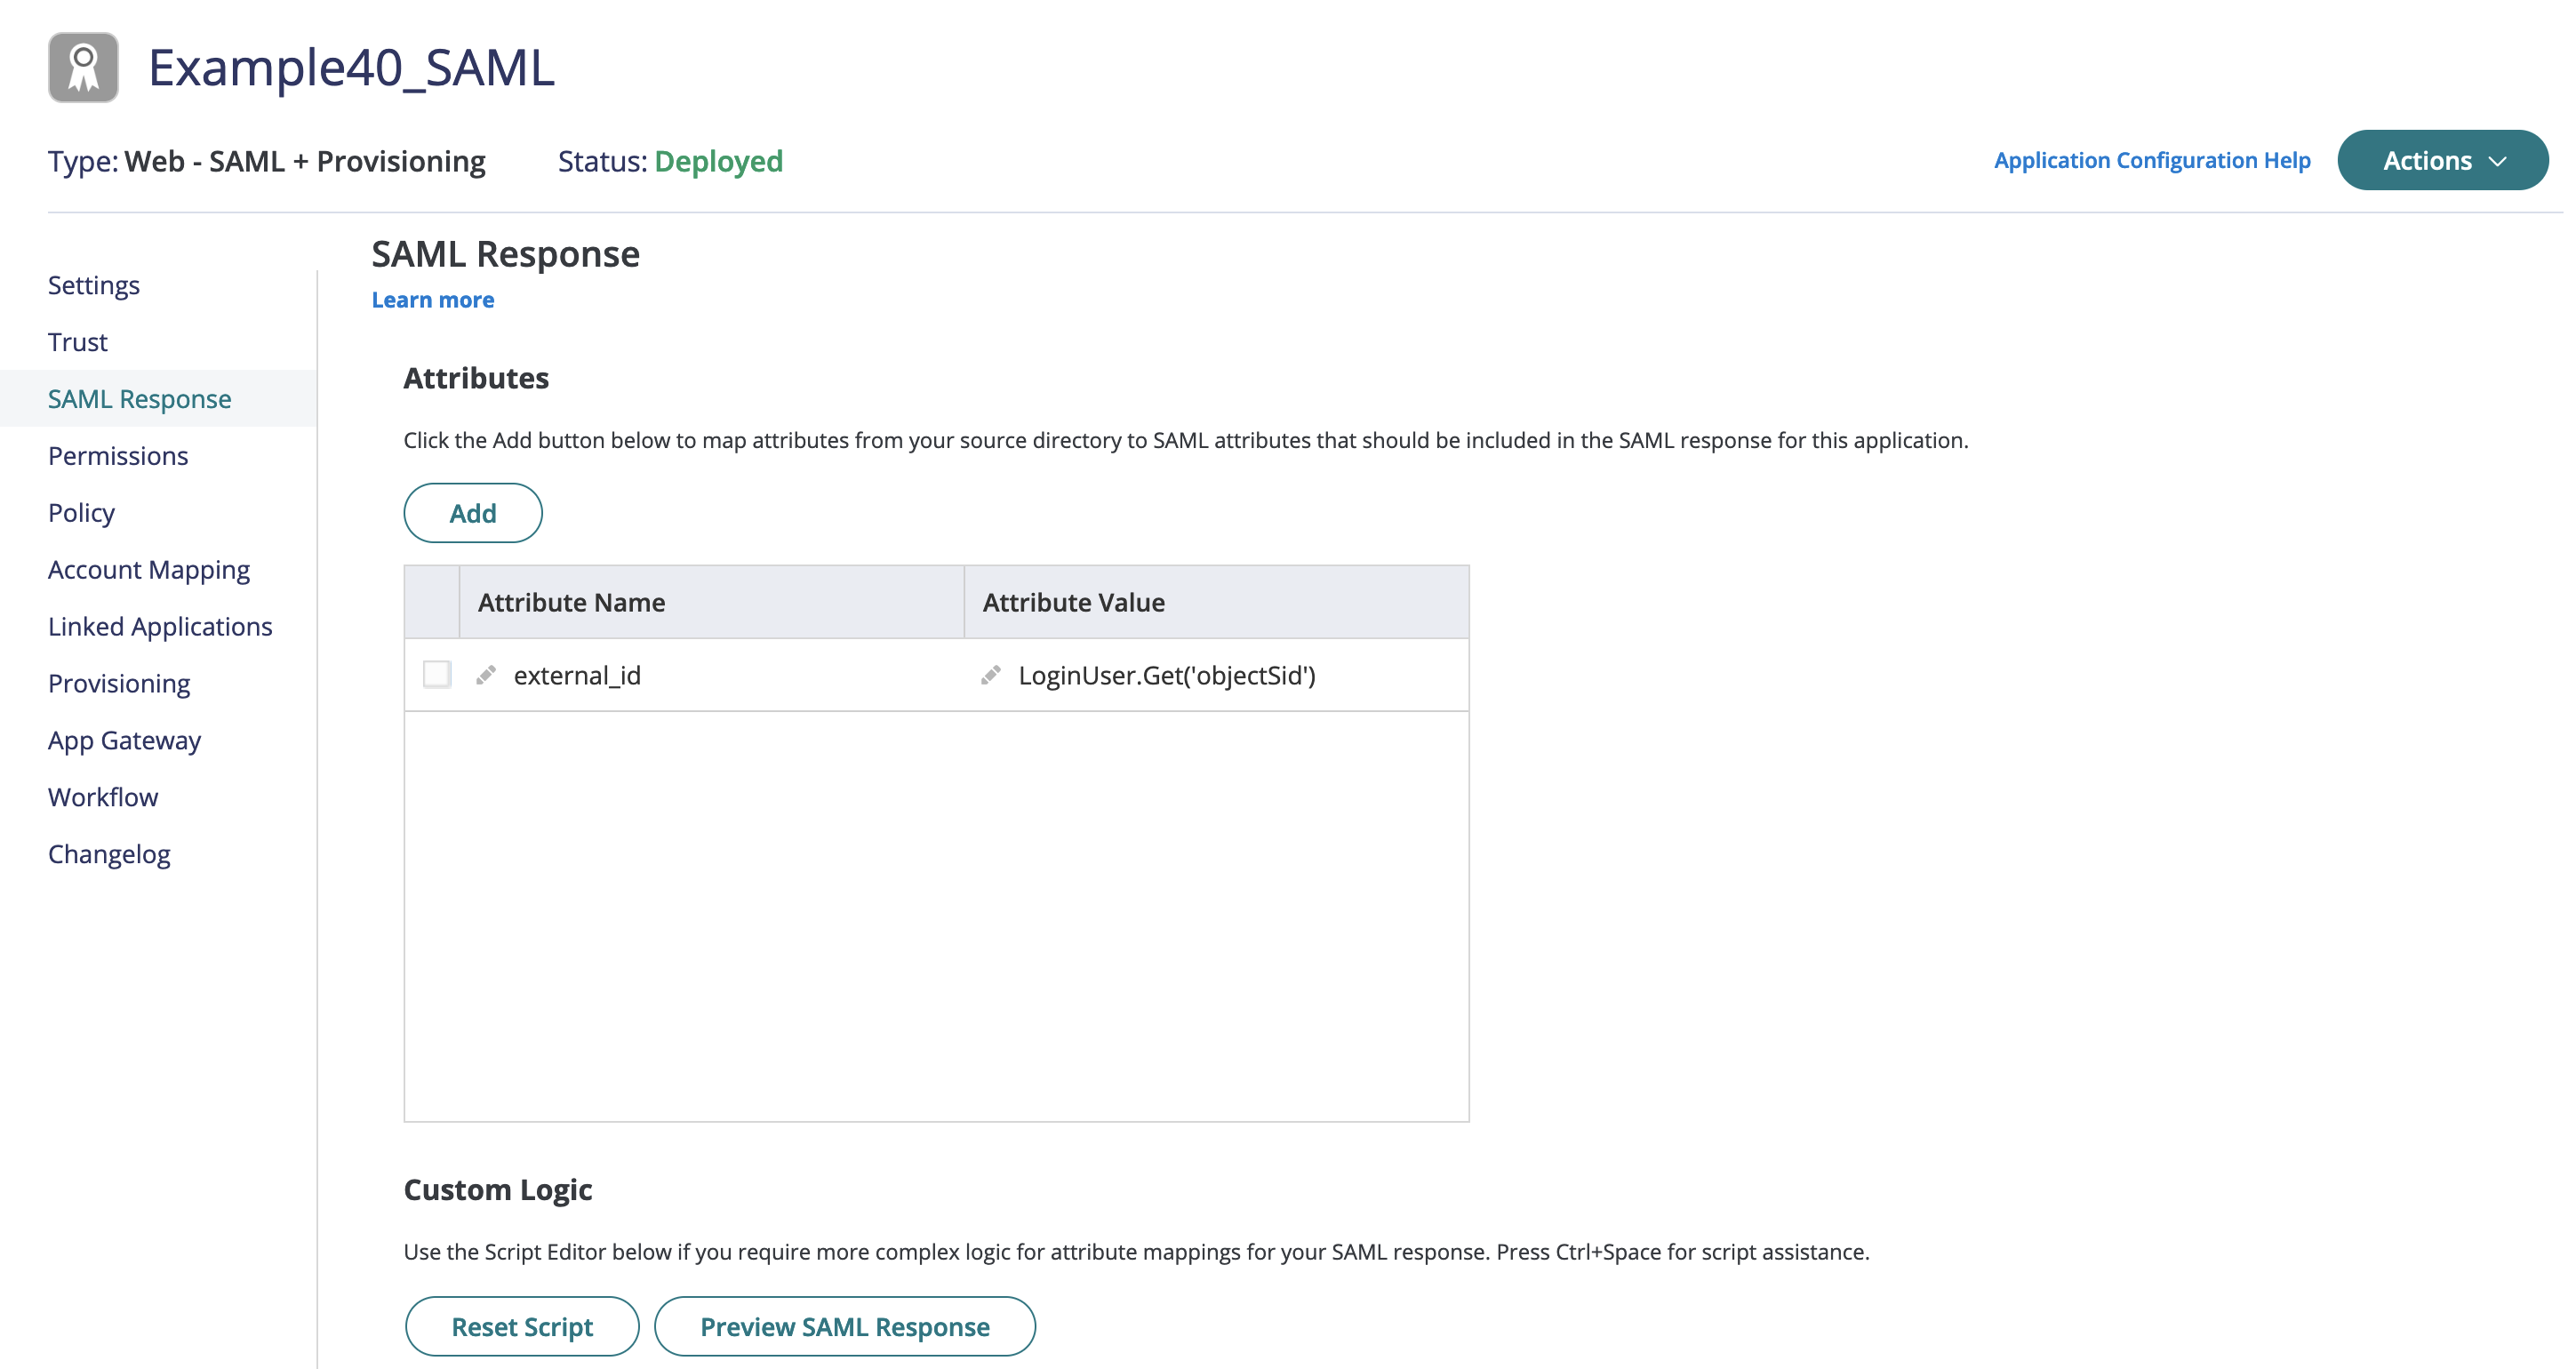
- Assign the attribute for
external_idin "SAML Response":
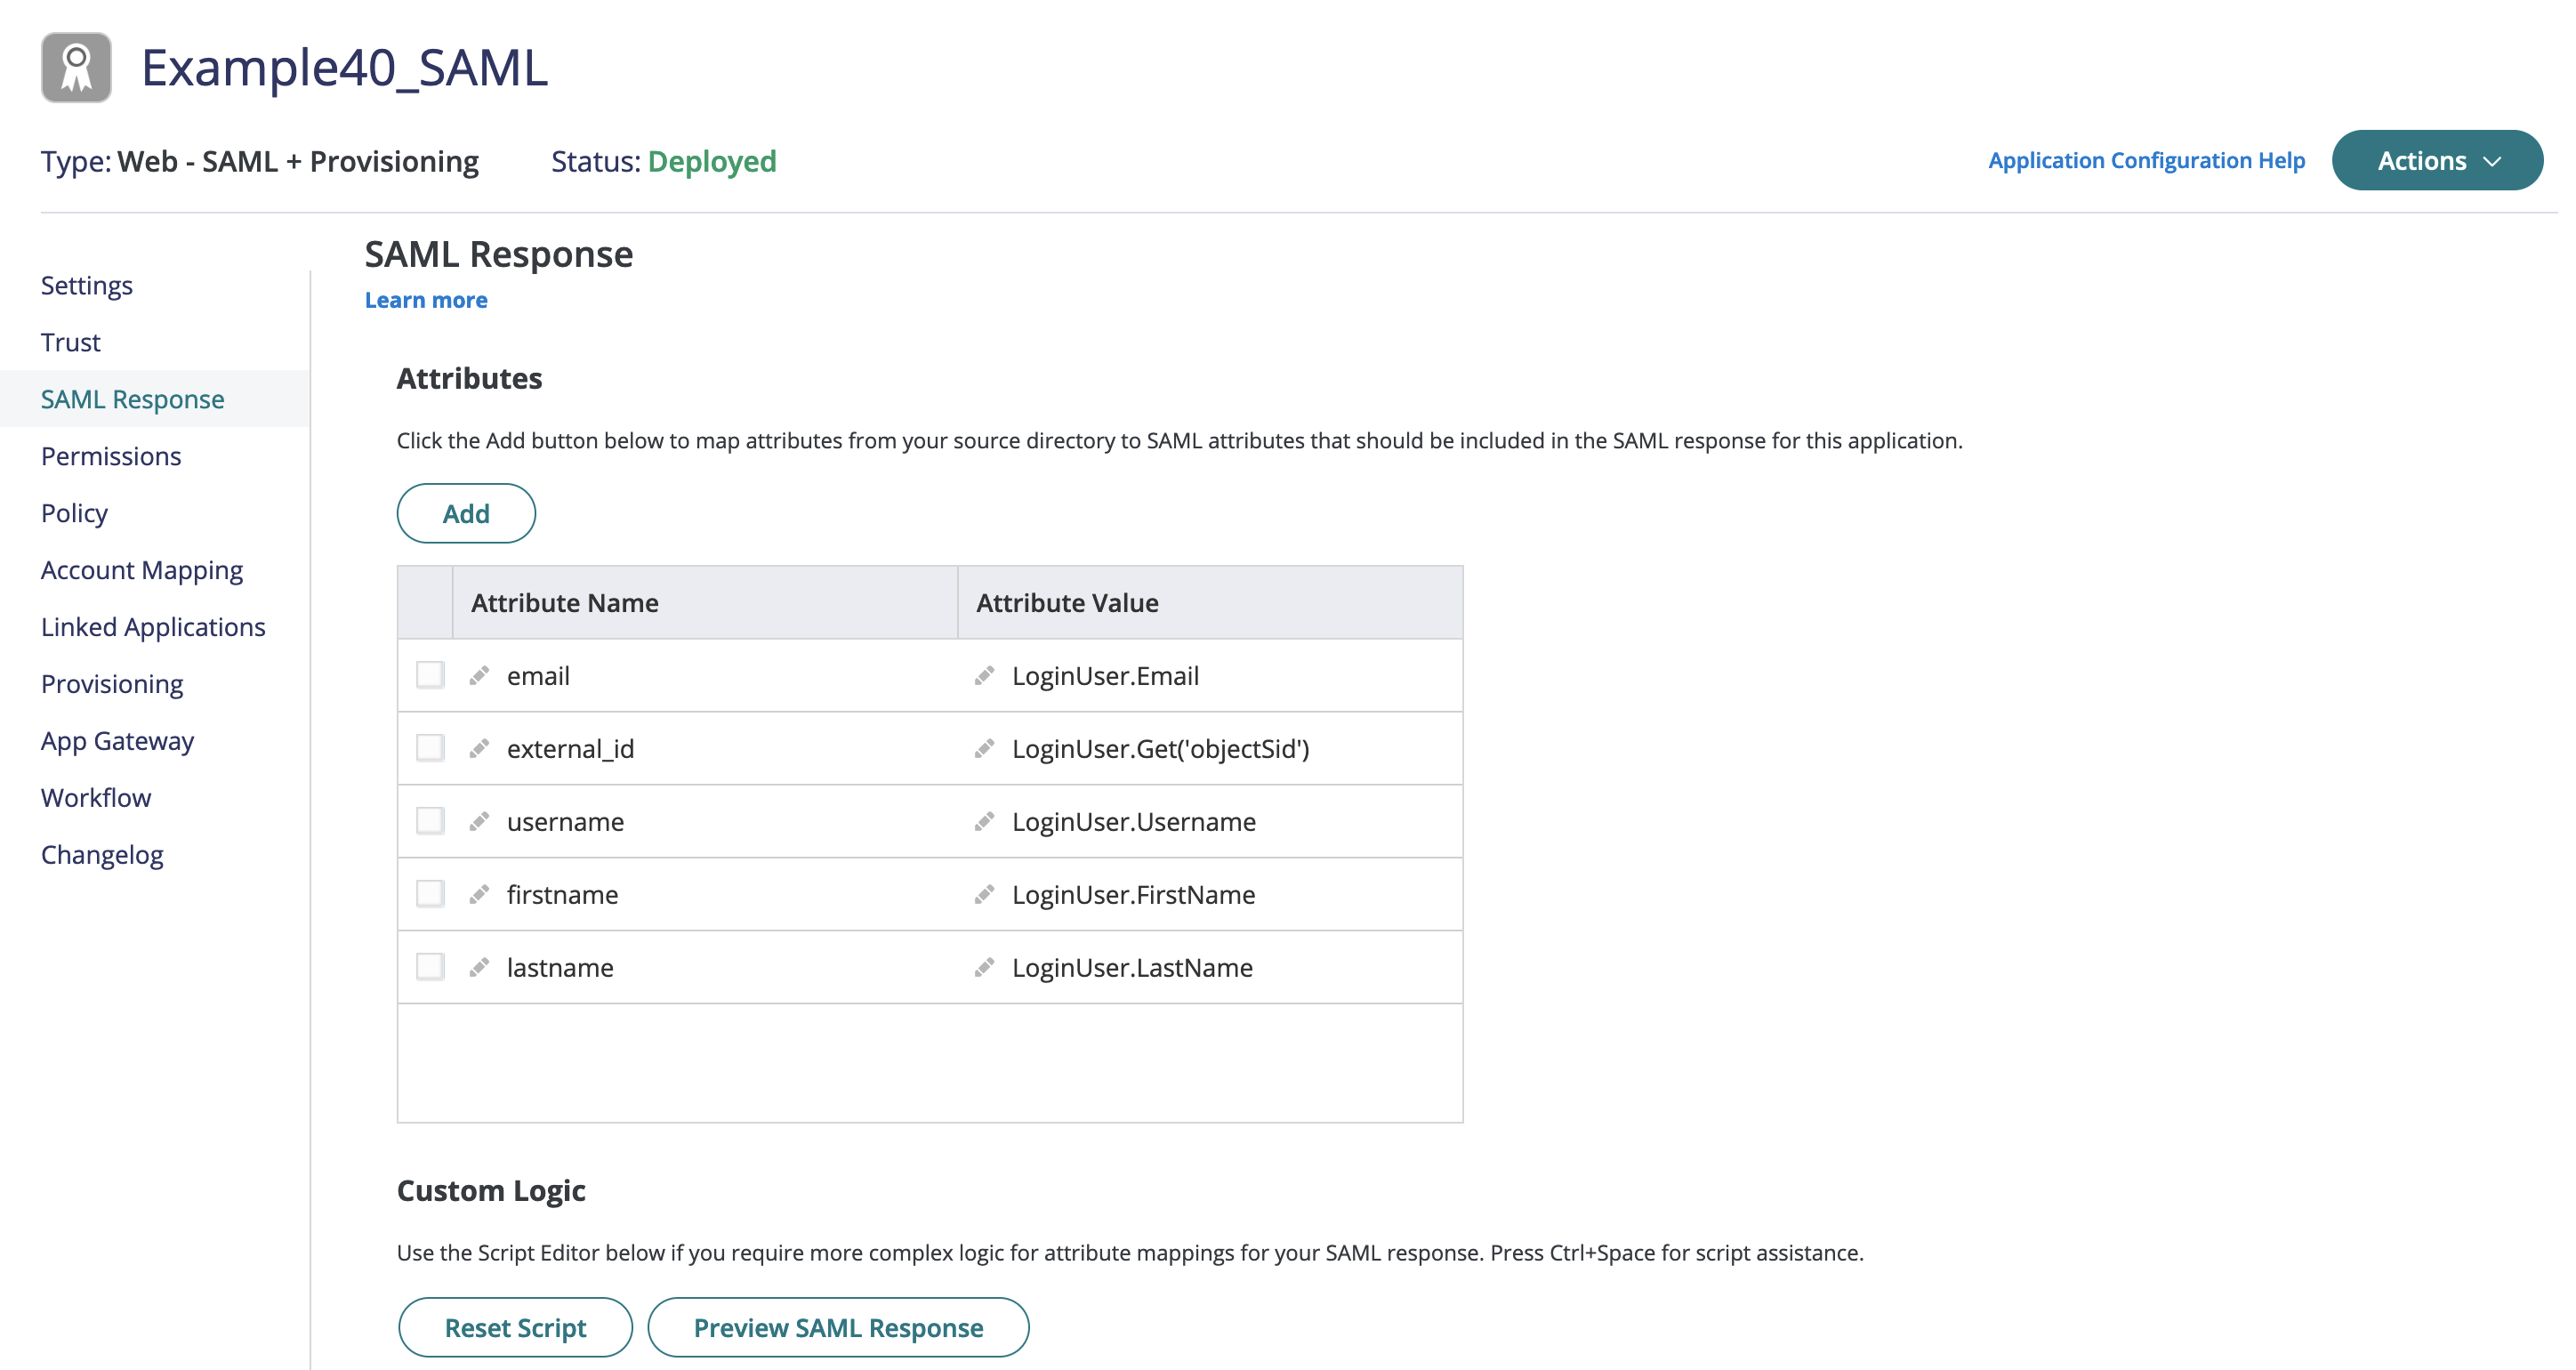
- Optional: Add additional mappings:
- Finish your CyberArk configuration. Give either
Metadata URLorMetadata Fileto the 4ALLPORTAL responsible. The next steps are back in the 4ALLPORTAL.
# Complete Configuration in 4ALLPORTAL
The last steps can be done as soon as the person who configured CyberArk externally provided either Metadata URL or Metadata File.
- Go back to your Asserting Party in admin snap-in
Authentication/SAML2 Asserting Party (IDP). - Set
Metadata URLof the Asserting Party, e.g.https://aad0580.my.idaptive.app/saasManage/DownloadSAMLMetadataForApp?appkey=191d3cc2-cef7-4f11-a9e3-2d1c1c2aXXXX&customerid=AAD0580.
Or use theMetadata Fileinstead of the URL if you wish or in case the URL is not accessible.
Or fill all advanced fields below. - In
Mappings, setDefault role ID, e.g. toUser. - Add mapping to
Mapping of user fields. Assign CoreEngine FieldExternal IDto External Fieldexternal_id. - Configure CORS like described in the basic SAML configuration here.
- Reload 4ALLPORTAL.
- Test your configuration and login to 4ALLPORTAL with the new provider.
Troubleshooting
If any problems occur during configuration or when logging in, look for help here.
# Optional: Map Additional Attributes
With the configuration described above, only attribute user.external_id in 4ALLPORTAL will be set to external_id from CyberArk. This is sufficient for login, but a user will contain no further information.
If you want to map additional attributes, you may add attributes to your mapping in admin snap-in Authentication/SAML2 Asserting Party (IDP) e.g. like this:
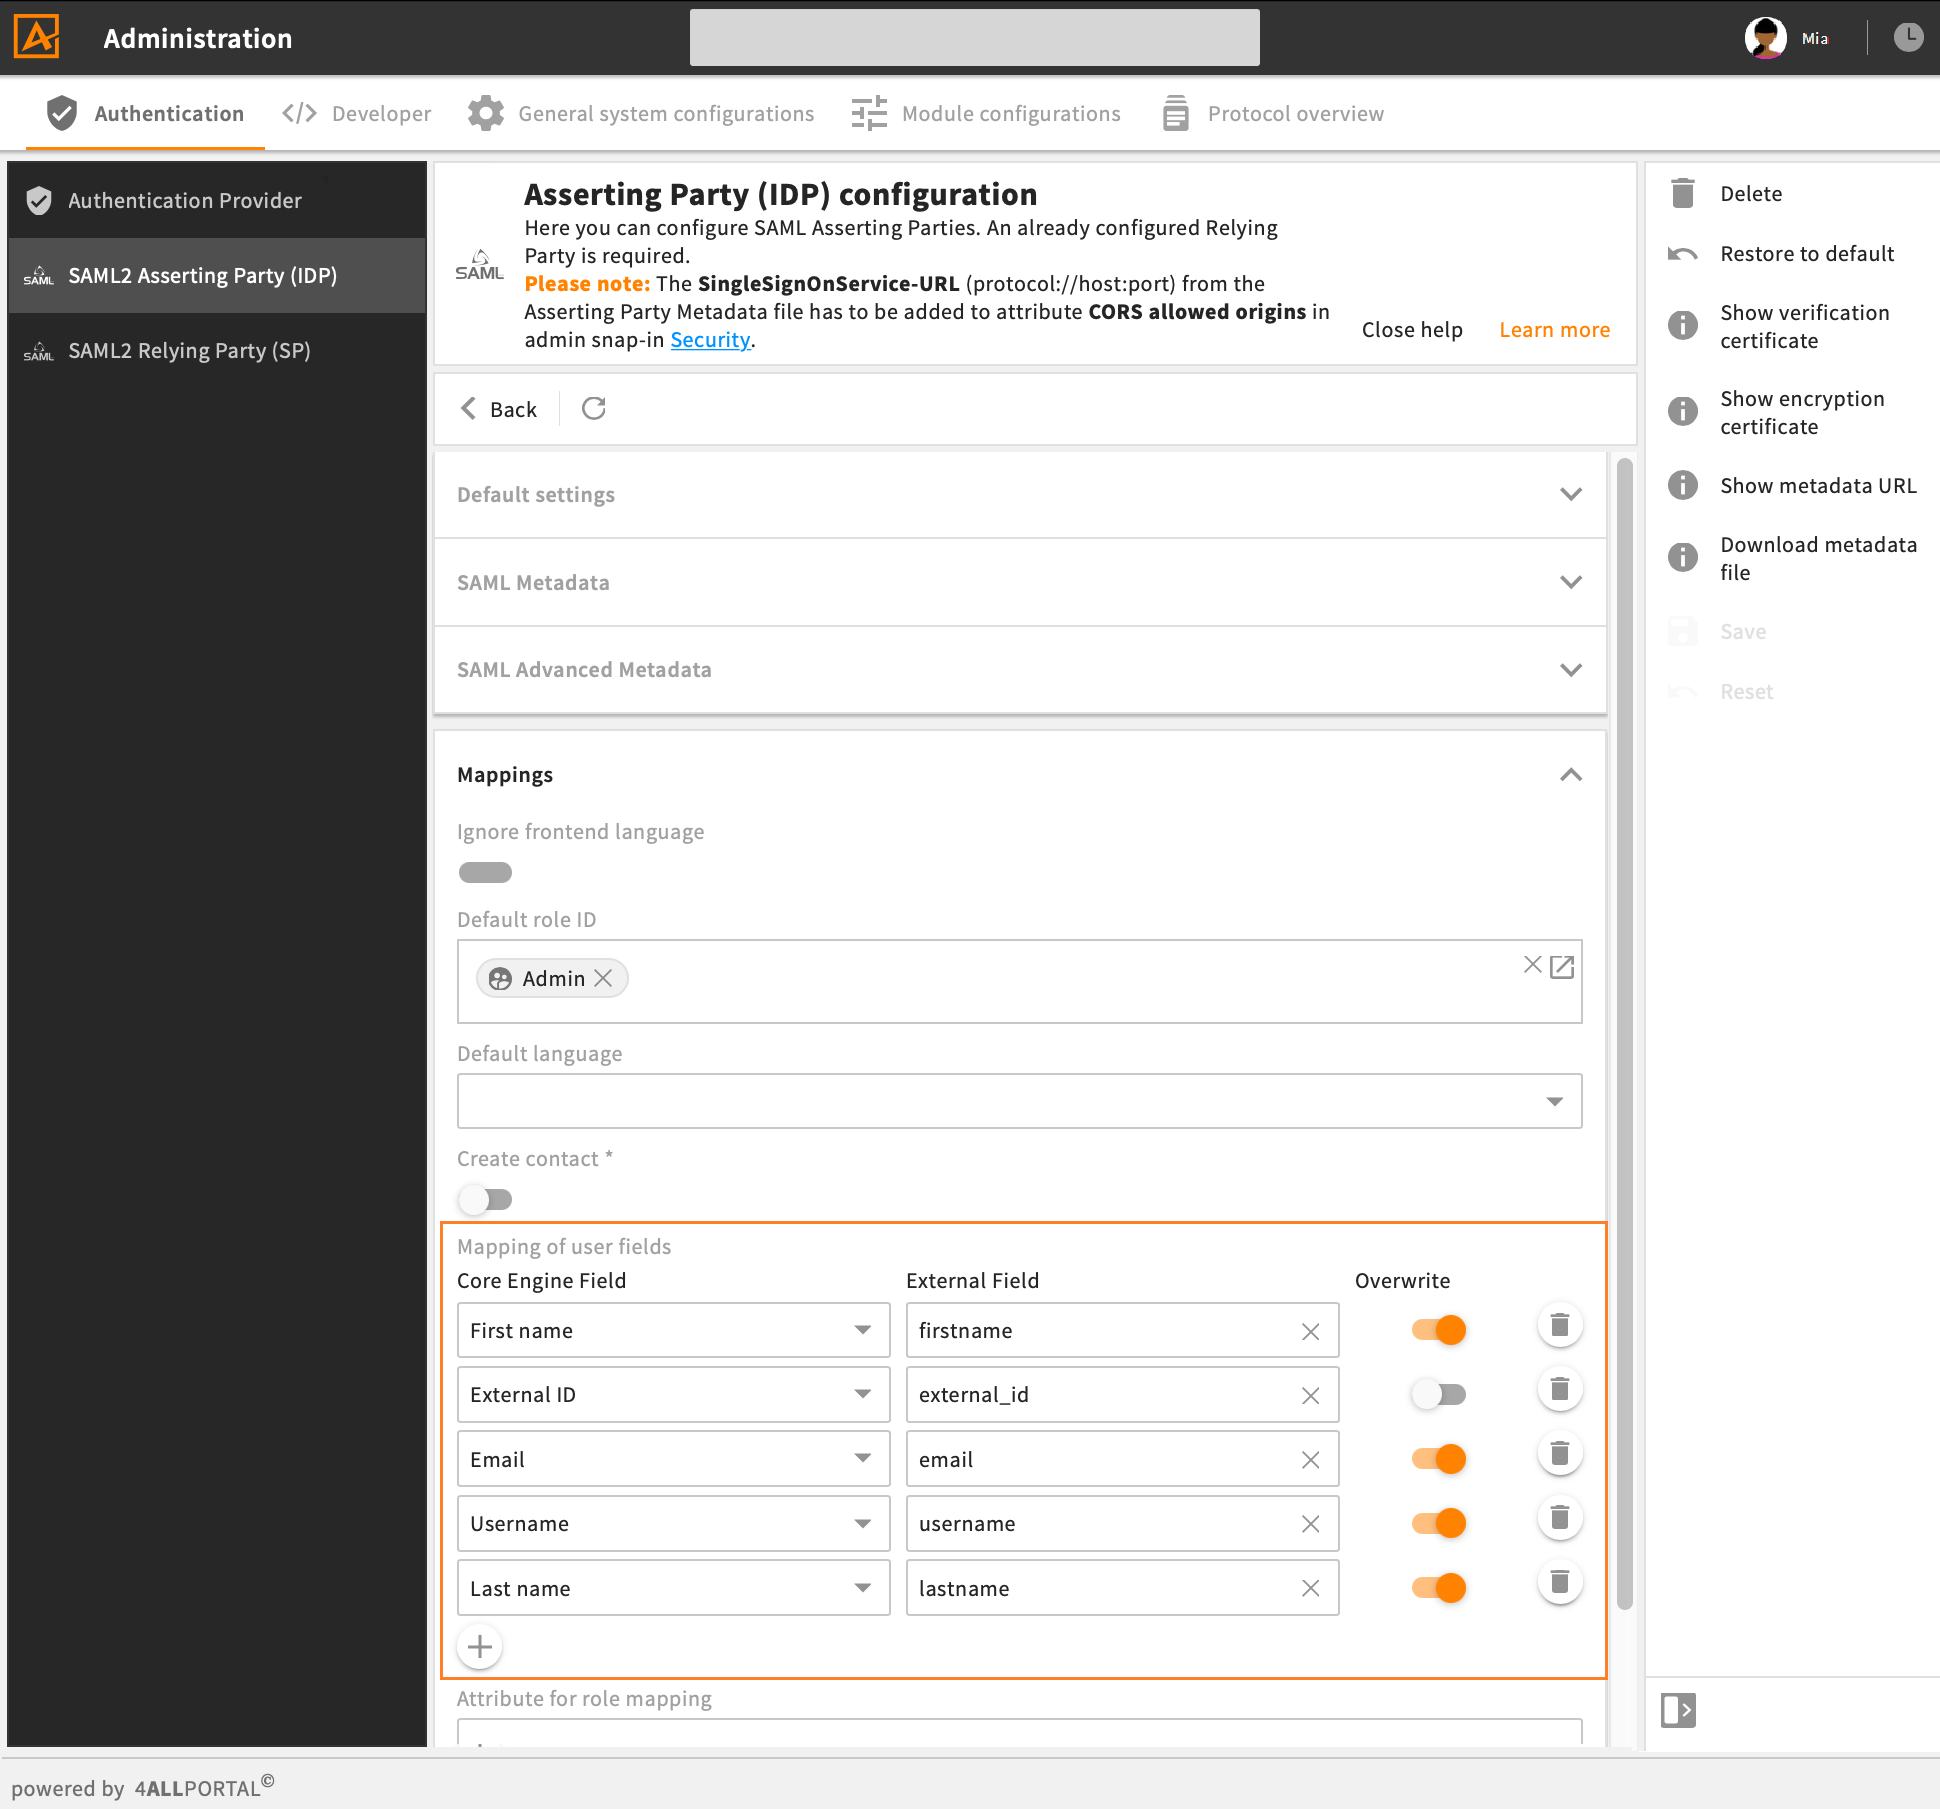
example for mapping of user fields in 4ALLPORTAL
Show SAML attributes
If you do not know the names of required attributes, use URL {baseUrl}/saml2/info to show SAML attributes after a valid login.