# Step 2: Implementation to PowerPoint
You can implement the plugin locally on your computer or globally for a user group:
After implementation, the add-in will be added to the Office Add-Ins window you reach via Insert > My Add-ins, where it can be activated.
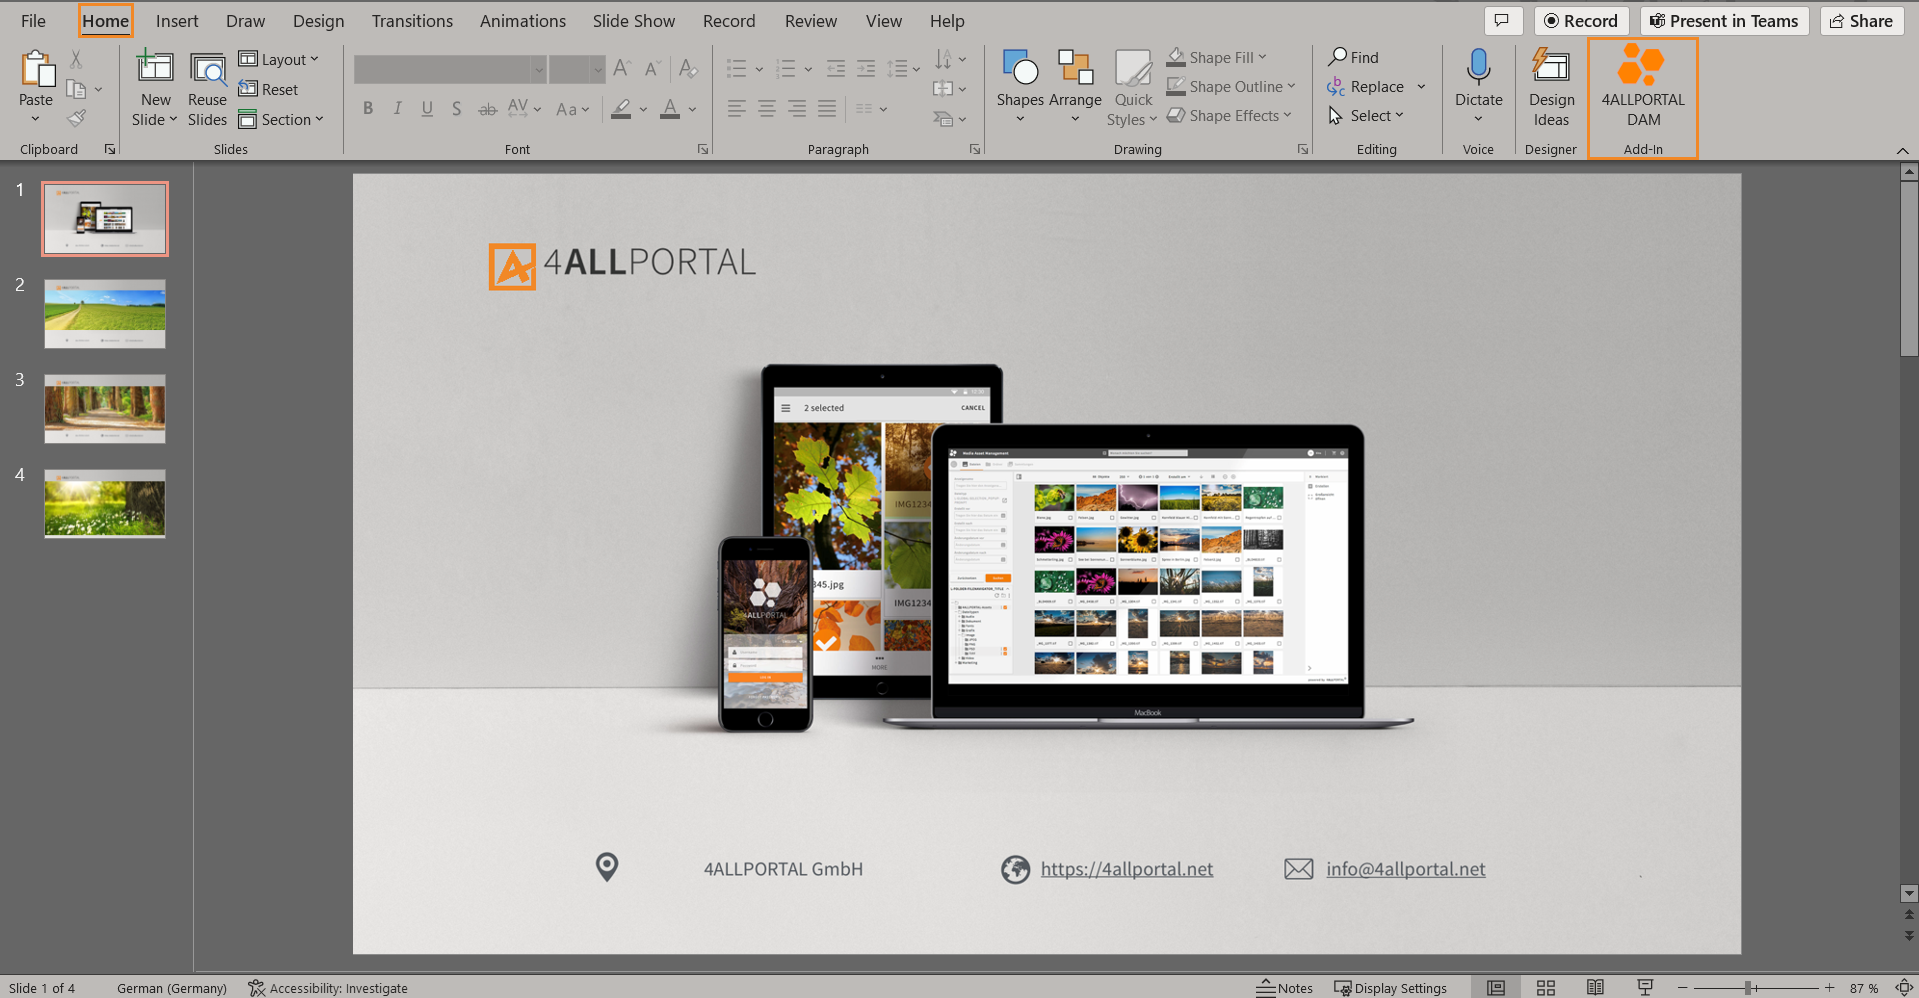
After activation, the 4ALLPORTAL plugin shows on the ribbon, tab Home > 4ALLPORTAL DAM:
# Local Client Installation
To implement the 4ALLPORTAL into your PowerPoint application locally, follow the instructions depending on the client you use PowerPoint with:
# Windows
For Windows, you have to share a folder and add it to PowerPoint's Trust Center. Just follow these 3 steps:
# Step 1: Create and Share a Folder
Open the File Explorer and go to the folder you want to use as your shared folder catalog (
manifest.xmlwill be stored here later).Right click the folder and choose
Properties.Within the
Propertieswindow, click tabSharing, then under "Network File and Folder Sharing" clickShare ....Within the
File sharingwindow, add yourself and any other users/groups with whom you want to share the plugin. You will need at least Read/Write permissions on the folder. ClickAdd, thenShare.When you see the confirmation that the folder is now shared, copy the full network path that is displayed following the folder name.
Example: \\DELLXPS-DOE\Users\j.doe\Desktop\PowerPoint-Plugin
Please note: You will need to enter this value as the Catalog URL when you specify the shared folder as a trusted catalog, as described in the next section.Click
Doneto close the Network access window, and close thePropertieswindow.
# Step 2: Add Folder to PowerPoint Trust Center
Open a new document in PowerPoint.
Open tab
File, then chooseOptions.Choose
Trust Center, then clickTrust Center Settings.Choose
Trusted Add-in Catalogs.Enter the full network path to the folder including its name to the
Catalog URLbox and clickAdd catalog.
In case you failed to copy the folder's full network path, you can get it from the folder'sPropertiesdialog window.Select check box
Show in Menufor the newly added item, then clickOKto close the Trust Center dialog window andOKto close theOptionsdialog window.Close and reopen Office, so your changes will take effect.
# Step 3: Add the 4ALLPORTAL to PowerPoint
Move the
manifest.xmlfile you downloaded from the 4ALLPORTAL into your shared folder catalog.In PowerPoint, open tab
Insertand chooseMy Add-insto open theOffice Add-insdialog box.Choose
Shared Folderat the top.Choose
4ALLPORTALand clickAddto insert the plugin.The plugin now shows on the ribbon, tab
Home.
# macOS
Open
Terminal.Enter "open /Users/
/Library/Containers/com.microsoft.Powerpoint/Data/Documents/wef" to open folder wefin the Finder.If the
weffolder does not exist on your computer, enter "open /Users//Library/Containers/com.microsoft.Powerpoint/Data/Documents" to open folder Documentsin your Finder. Create folderwefand open it.Copy your
manifest.xmlto this folder.Open a new document in PowerPoint (restart PowerPoint if already running).
Choose
Insertfrom the Ribbon, thenAdd-ins, thenMy Add-ins.Click the drop-down menu (small down-arrow next to
My Add-ins) and select and add4ALLPORTAL.The plugin now shows on the ribbon, tab
Home.
# Web Browser
Open a PowerPoint presentation in your web browser (office.com).
Choose tab
Insert, then chooseAdd-Ins.Choose
Manage my Add-Ins, then chooseUpload my Add-In.Select the
manifest.xml.The plugin now shows on the ribbon, tab
Home.
Please note: Microsoft 365 does not support the Internet Explorer.
# Global Admin Installation
As an admin, you can add the plugin to PowerPoint for all users, or a user group. The plugin then lists in section ADMIN MANAGED at the top of the Office Add-Ins dialog box.
# Requirements
- Office Admin Center (opens new window)
- Admin access rights
- Centralized Deployment of PowerPoint
Before you begin, determine if Centralized Deployment of add-ins works for your organization.
Open Office Admin Center and go to the
Settings > Integrated apps.Select
Upload custom appsand upload themanifest.xml.Select an option and follow the instructions.
On the next page, select
Everyone,Specific users/groups, orJust youto specify to whom the add-in should be deployed. Use the Search box to find specific users or groups.Select
Deploy. When finished, selectNext. If you've deployed to just yourself, you can selectChangeto deploy the add-in to more users.In PowerPoint, the plugin now shows on the ribbon, tab
Home. At mouse over, the information tells users, this add-in is Admin managed.
Users might need to relaunch Office to view the add-in icon (Show Taskpane) on their PowerPoint ribbon. Add-ins can take some time to appear on app ribbons.
If it does not show, users should try to add it via tab Insert > My Add-ins > Office Add-ins (like described above).
# Global Updates
Please note that not all plugin updates require an update of the manifest.xml. If an update works without updating the manifest.xml, no update action is required in the Office Admin Center.
# Centralized Deployment of PowerPoint
With Microsoft Centralized Deployment Compatibility Checker, you can verify whether the users on your tenant are set up to use Centralized Deployment for PowerPoint.